
Santa Caught on Camera guide
How to Make Santa Caught on Camera: A Photo Guide
Create a fictional Santa camera picture from a room, house or porch photo. Learn the four styles, photo tips, credit costs and what to review.
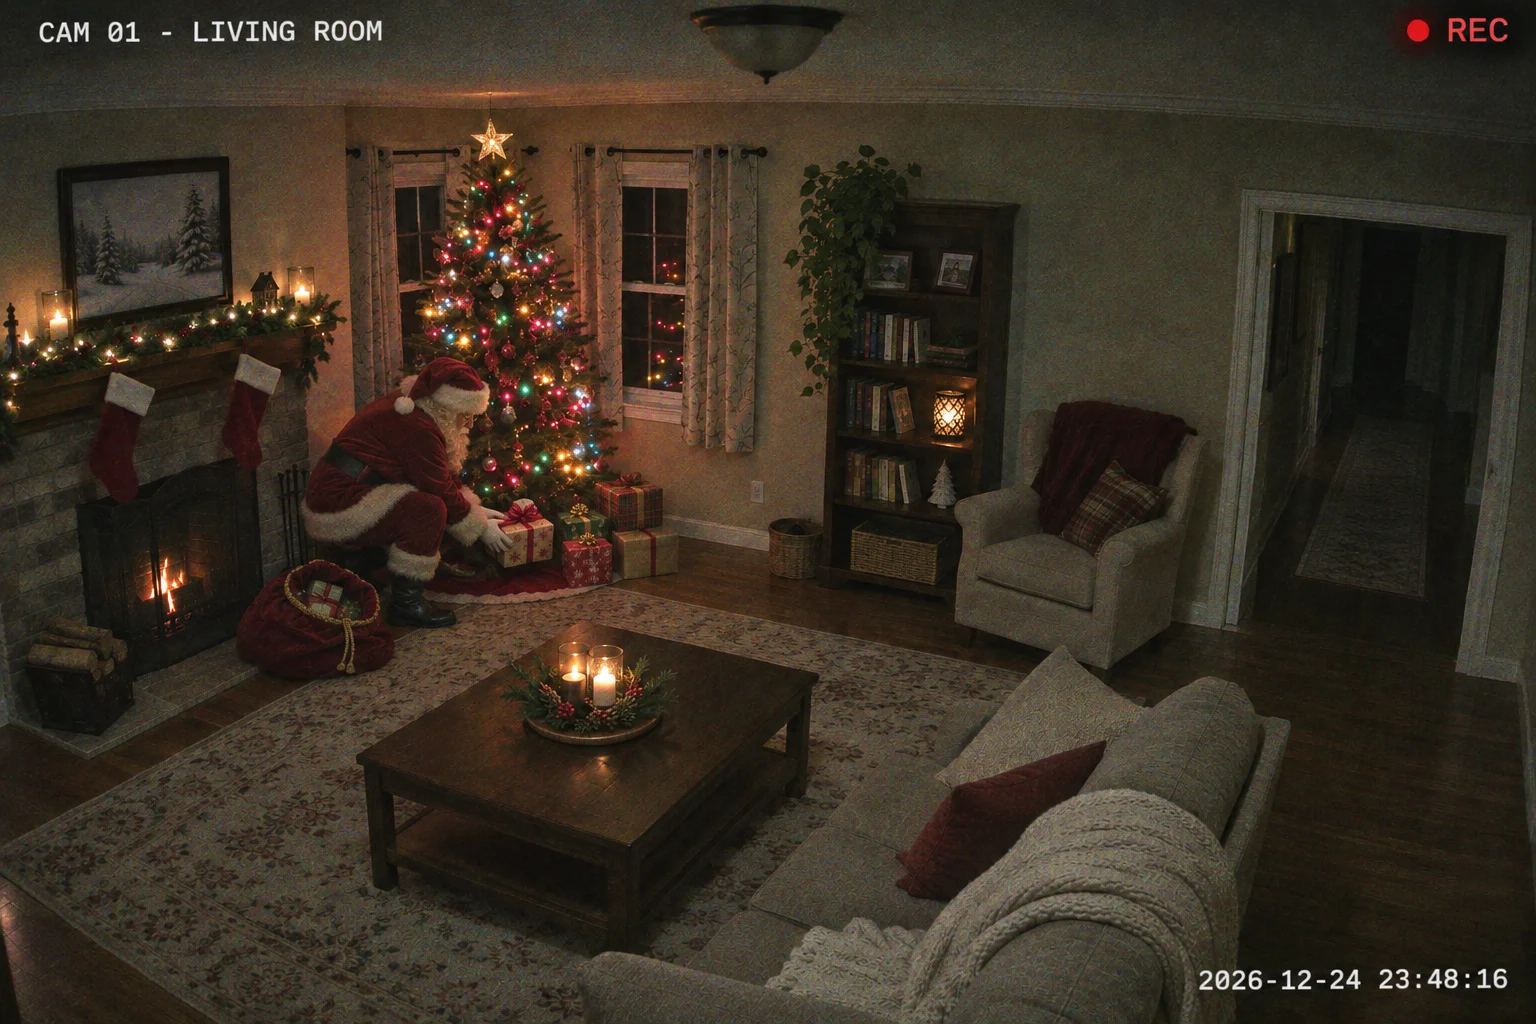
Santa Caught on Camera creates a fictional Christmas camera scene from a picture of your room, house or porch. You choose the camera look and Santa’s activity. It makes an AI picture for festive storytelling, rather than a real security-camera recording.
Open Santa Caught on Camera studio →
Before you start
Have your source photos ready and use pictures you have permission to upload. Keep the subject sharp and easy to see. The studio supports uploads from your computer or phone; on a computer, you can also drag a photo into the upload box or paste it.
1. Upload 1 photo
Use JPG, PNG or WebP smaller than 10 MB. Choose clear faces and leave space where Santa should appear. For the sleigh style, include visible sky. Only upload a photo you have permission to use.
2. Choose 1 of 4 styles
Select Gifts by the tree, Sleigh over the house, Sneaking in or Front door in the studio. Optional scene details can be up to 120 characters. Choose a suitable photo; the model may alter details to fit the camera look.
3. Review quality and cost
1K uses 5 credits; the default 2K uses 10 credits for 1 image. Original photo shape is selected automatically. Sign in with enough credits before creating; the cost is shown before you create.
4. Create and review
Press Catch Santa on camera when ready. Review faces, hands, Santa’s placement and lighting before downloading or sharing. Confirmed failed creations return their credits; an uncertain provider response is checked before a refund.
Photo tips for this tool
- Use a living-room picture with the tree and floor visible for Gifts by the tree or Sneaking in.
- For Sleigh over the house, include the roof and open sky. For Front door, use a porch picture with the entrance clearly visible.
- Keep the original scene easy to read. Check doorways, the tree, existing people and Santa’s placement in the finished image.
A detail you can try
The optional details field is for a name or a short scene preference. Keep requests specific, and keep the selected style consistent with the result you want. You can leave the field empty to use the selected look.
CAM 01, Santa delivering gifts beside the tree; keep the room layout and existing people unchanged.
How much does it cost?
A 1K picture uses 5 credits and the default 2K picture uses 10 credits. The studio requests the original photo shape, and failed creations return their credits.
Check before sharing
Review the finished result at full size. AI can change small features and composition, even when prompted to preserve the subject. If the face, markings, framing or placement look wrong, try a clearer source photo or adjust the details before making another creation.